1
Open your Owner Dashboard and choose “Add venue”
After your owner account is ready, open the Owner Dashboard and click Add venue.
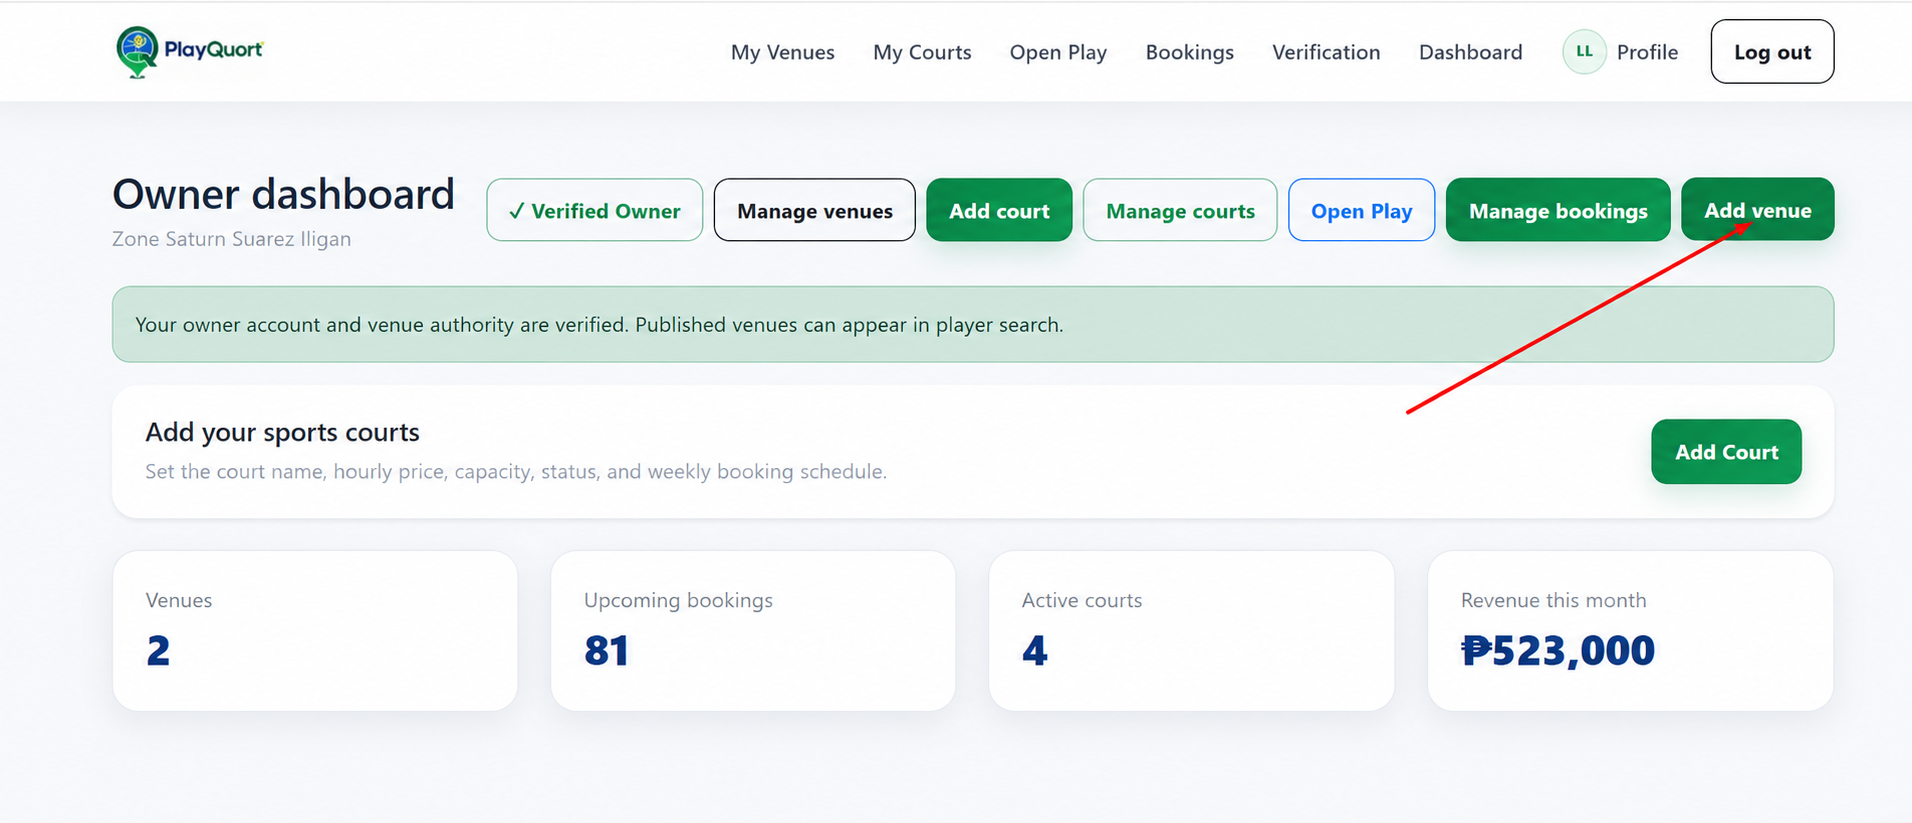
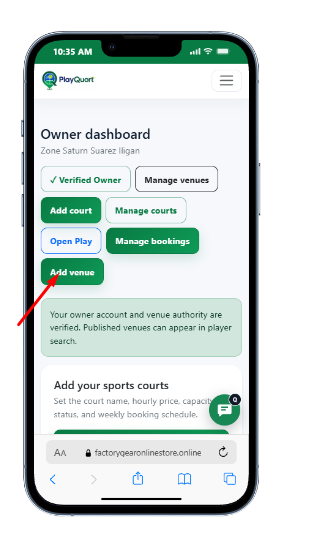
Follow these steps to add your venue, create your courts, and make your venue visible to players. Use the Desktop/Mobile switch below to see the screenshots that match your device.
After your owner account is ready, open the Owner Dashboard and click Add venue.
Enter your venue name, description, contact number, street address, barangay, city/municipality, province, postal code, and the other requested details. Make sure the location is accurate so players can find your venue.
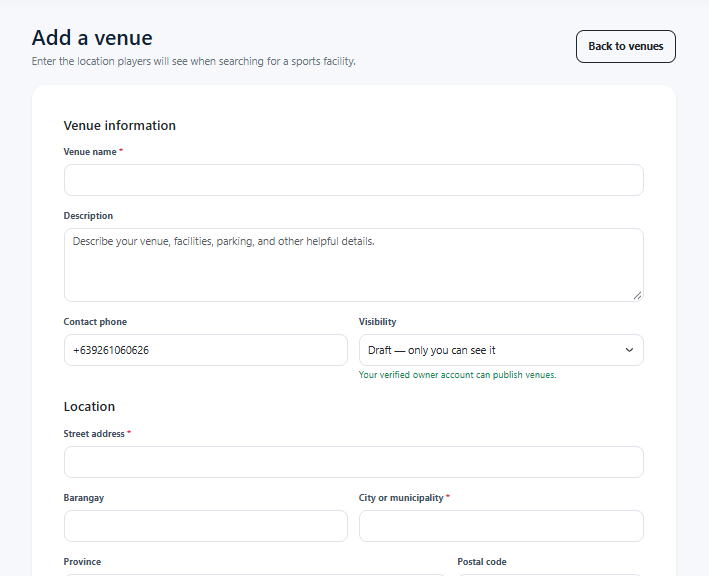
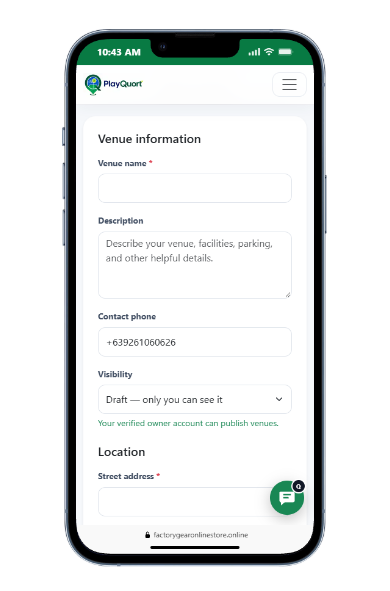
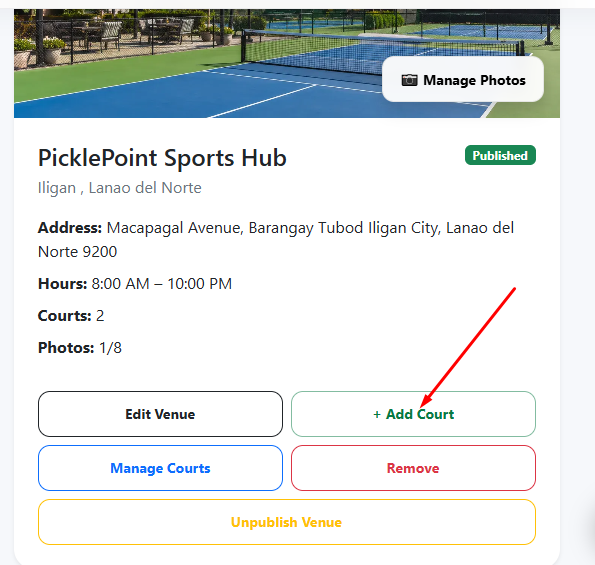
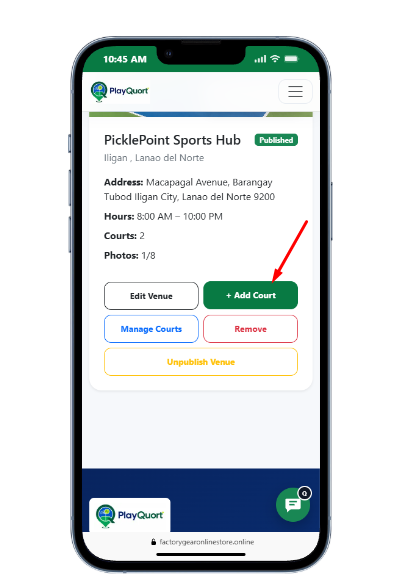
From your venue card, click + Add Court. If you have several courts, add each court separately so each one can have its own price and schedule.
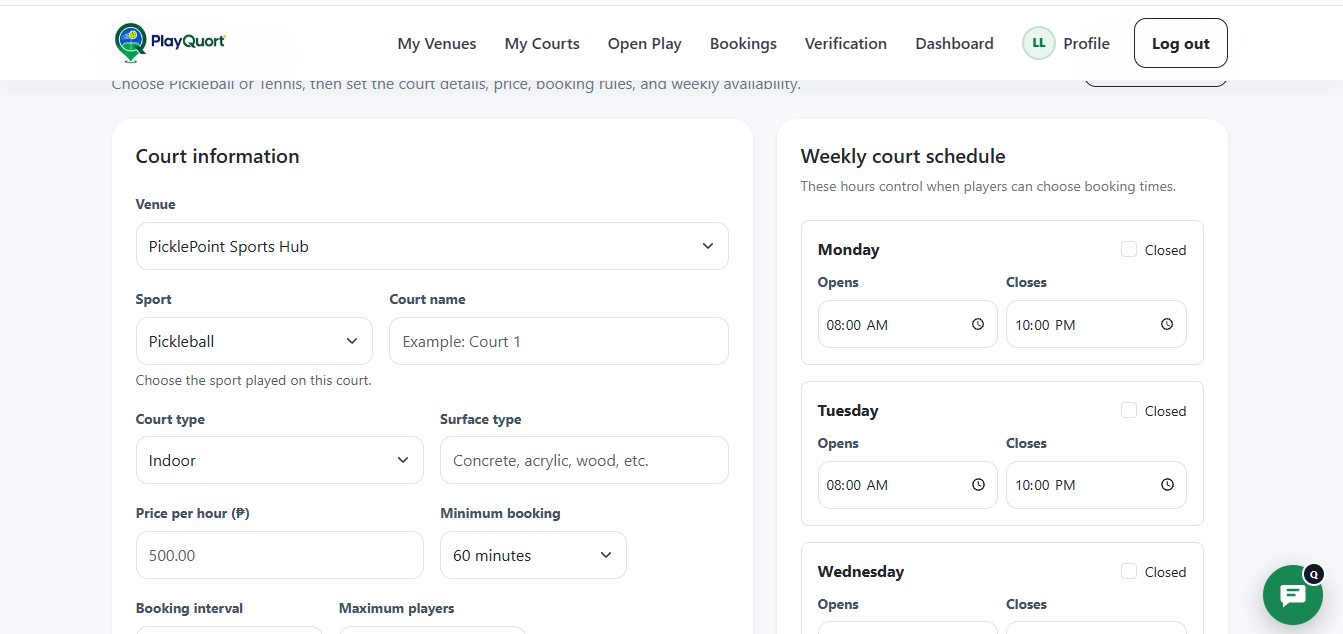
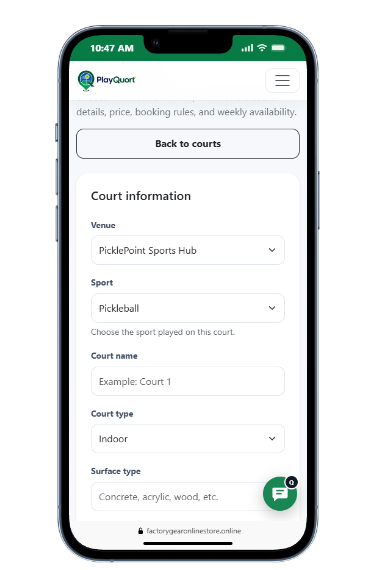
Choose the venue and sport, enter the court name, court type, surface, hourly price, minimum booking, booking interval, maximum players, and the hours the court is available each day.
A Published venue can appear to players. Use Unpublish Venue when you temporarily do not want the venue to appear for new player bookings. You can publish it again when you are ready.
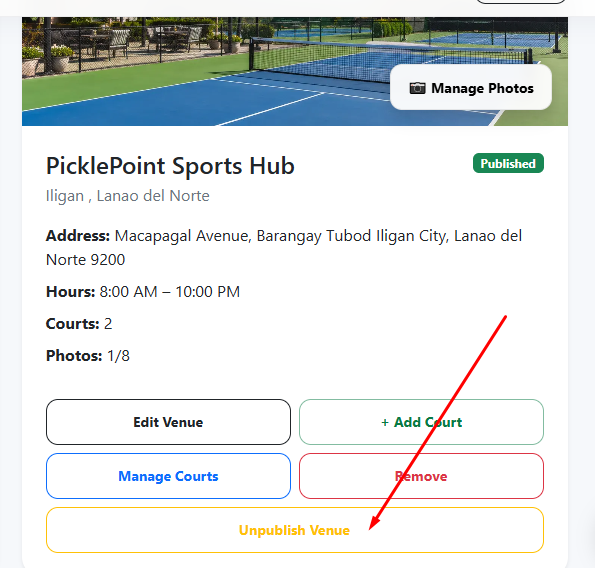
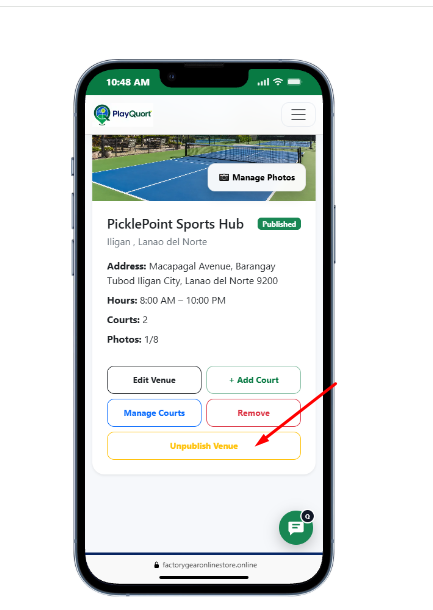
Your venue is visible/eligible to appear to players, subject to the venue and court being properly configured.
Your venue is temporarily hidden from new player discovery/bookings. Use this for maintenance, closures, or temporary pauses.
Use this when your address, operating hours, contact details, description, or other venue information changes.
Use this to update individual courts, including pricing, availability, and other court-specific settings.